In today’s world, home security has become more important than ever before. With the advancement of technology, smart home devices like the Vivint Doorbell Camera offer a convenient and effective way to enhance your home’s security. If you’re considering installing a Vivint Doorbell Camera, you’re on the right track. In this guide, we’ll walk you through the step-by-step process of installing this cutting-edge device to help you safeguard your home and loved ones.
Step 1: Gather Your Tools and Materials
Before you begin the installation process, it’s essential to gather all the necessary tools and materials.
Here’s a list of what you’ll need:
- Vivint Doorbell Camera kit (including the camera, mounting bracket, and wiring)
- Screwdriver set
- Drill and appropriate drill bits
- Level
- Screws and anchors (if not included in the kit)
- Smartphone or tablet with the Vivint app installed
- Wi-Fi network credentials
Step 2: Choose the Right Location
Selecting the optimal location for your Vivint Doorbell Camera is crucial to ensure proper functionality and security coverage. The camera should be placed at a height where it can capture clear images of visitors’ faces and packages. Additionally, make sure it’s within the range of your Wi-Fi network to ensure a stable connection.
Step 3: Install the Mounting Bracket
With the location chosen, it’s time to install the mounting bracket. Follow these steps:
- Hold the mounting bracket against the wall or door frame at the chosen location.
- Use a level to make sure the bracket is straight.
- Mark the positions of the screw holes using a pencil.
- If the kit doesn’t include screws and anchors, choose appropriate ones based on your wall type and drill the holes.
- Secure the mounting bracket using the screws and anchors.
Step 4: Connect the Wiring
The Vivint Doorbell Camera requires power to operate. If you’re replacing an existing doorbell, you might be able to use the existing wiring. Otherwise, you’ll need to follow these steps:
- Remove the cover of your existing doorbell.
- Disconnect the wires from the old doorbell.
- Thread the wires through the mounting bracket of the Vivint Doorbell Camera.
- Connect the wires to the corresponding terminals on the camera. Usually, these are labeled “Front” and “Trans.”
- Use the included wire nuts to secure the connections.
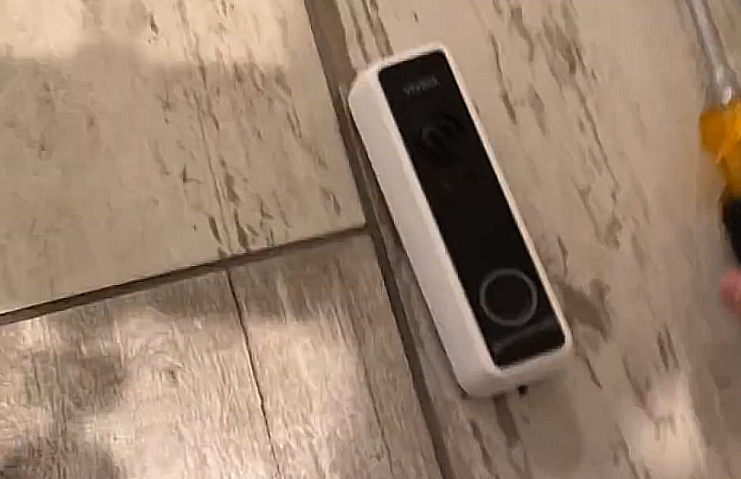
Step 5: Attach the Doorbell Camera
Now that the wiring is connected, it’s time to attach the Vivint Doorbell Camera:
- Line up the camera with the mounting bracket.
- Slide the camera onto the bracket until it clicks into place.
Step 6: Power On and Set Up
With the camera physically installed, it’s time to power it on and set it up:
- Turn on the power to your doorbell circuit from your breaker box.
- Open the Vivint app on your smartphone or tablet.
- Follow the on-screen instructions to add a new device. This will involve connecting the camera to your Wi-Fi network.
- Test the camera to ensure you’re receiving a live feed on your device.
Step 7: Adjust Settings and Notifications
Once your Vivint Doorbell Camera is connected and working, take some time to customize its settings:
- Set up motion detection zones to receive alerts only when specific areas are triggered.
- Configure notification preferences, such as receiving alerts when someone rings the doorbell or when motion is detected.
- Explore additional features, like two-way audio communication with visitors.
Final Thoughts
Installing a Vivint Doorbell Camera might seem like a complex task, but by following this step-by-step guide, you can have it up and running in no time. Enhancing your home security with smart devices like this not only provides peace of mind but also adds an extra layer of protection to your property. Remember that if you ever encounter difficulties during the installation process, Vivint’s customer support is available to assist you. Stay safe and enjoy the benefits of modern home security technology!